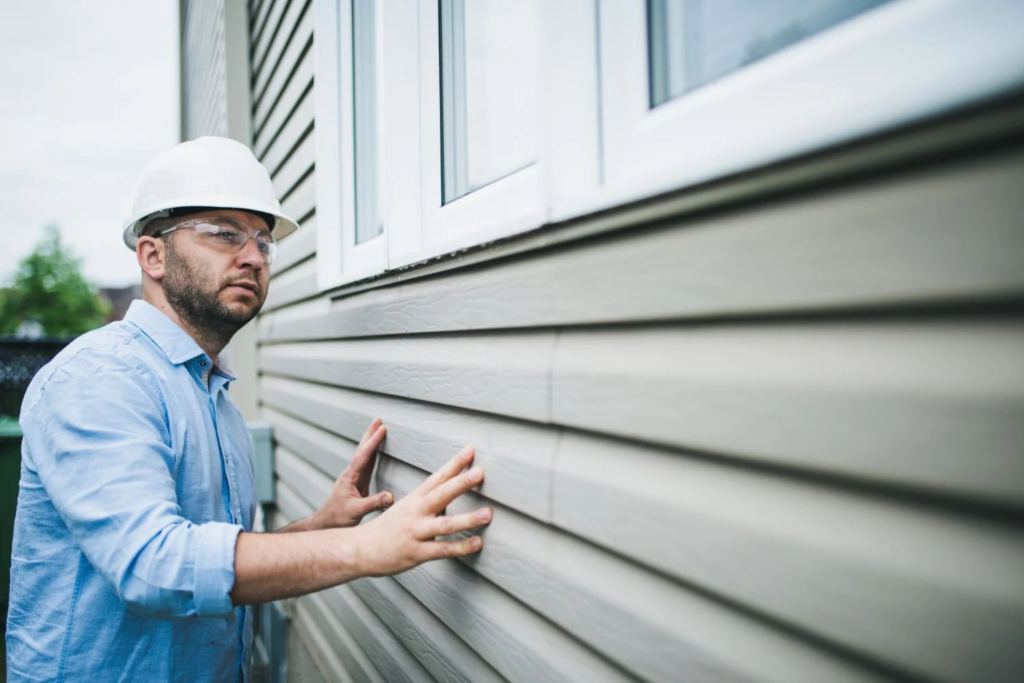
Investing in siding is a significant expense for any homeowner. You want to ensure the installation is done properly and will last a long time. A good quality contractor like Siding Companies Charleston SC will schedule a pre-installation meeting to review all the details and address any questions you may have. They will also prepare the area by removing sconces, downspouts, and mailboxes.
Rebar, short for reinforcing bar, is one of the most common and versatile construction materials in modern times. It is used in various projects, from sidewalks and driveways to skyscrapers and bridges. This steel material is the key to concrete’s strength and durability, improving its tensile capacity. Concrete with rebar is much stronger than unreinforced concrete.
Rebar is often made from low, medium, or high-carbon steel. It is shaped into various diameters and lengths depending on project requirements. It is also fabricated into different types and grades. For instance, low-carbon steel is usually used in footings and foundations, while stainless steel is suitable for applications exposed to harsh weather conditions or salty environments.
Typically, rebar is buried within the concrete to prevent it from being pulled out of the structure during extreme stress. It is also ribbed to ensure that it adheres mechanically to the concrete. It is also often coated to protect it from moisture damage or to improve its bond with the concrete. Finally, it is often bent and hooked at the ends to lock it in place, ensuring it does not slip or move during a build.
While concrete is very strong in compression (the balanced pushing of equal forces at varying points on a material), it is quite weak in tension, leading to a wide range of failures and collapses. Rebar is cast into concrete to help it withstand a tensile load and add structural integrity. Its use dates back to the 15th century, with famous examples such as the Leaning Tower of Nevyansk.
The first step in using rebar is to secure a safe workspace and gather all your safety equipment. Next, you must measure the length you require for your project. This can be done with a tape measure or with chalk. Once you know your measurements, mark the desired end of the rebar with a pencil or wax crayon. Then, cut the rebar using a heavy-duty cutter. It is important to note that rebar is very stiff and hard to miss, so using an appropriate tool for the job is essential. Bolt cutters are usually adequate for cutting smaller rebar, while long-handle heavy-duty blades are more suitable for larger sizes.
Proper installation ensures the material can resist moisture and weathering when installing fiber siding. Getting this right starts with a good plan and careful execution. Getting all your tools lined up and ready to go before starting will save time and frustration. Some of the most important include a siding gauge, a saw with a high-torque blade, and a siding nailer. A high-quality caulking gun is also essential to keeping water out of walls.
Before installing the siding, prepare a test specimen (Photo 1). Place a 3/8-in. Thick treated wood starter strip along the bottom of the wall, and nail it in place. This strip will tip the first piece of siding to its correct angle and help keep it from pulling away from the wall.
A dial gauge should be mounted to the test specimen. Set the meter to its maximum reading. Then, measure the bending resistance of the test specimen using the same method described in ASTM E72. This is done by applying a concentrated load at the mid-width of the test specimen, located near the framing members. The focused load should involve the studs at least 24 in. (610 mm) on center. Then, record the resulting bending moment.
Once the test is complete, the results should be recorded on the spec sheet for the tested product. The test results should also be noted on the product’s installation instructions. If the bending results are within the tolerance limits for the specific product, the requirements for that application are considered to be met.
For curved corners, consider steam bending the siding before installation. This process will allow the siding to turn to the studs and eliminate the need for a shim at the top of the curved corner. This will also prevent the siding from sagging in the middle.
When nailing, use 6D or 8D galvanized or stainless steel siding nails. Nail lengths should be chosen to penetrate a minimum of 1-1/4 in. into solid wood sheathings, such as OSB or plywood, but not through the face of the siding. Fastener heads should be snugged up against the sheathing, not driven into it, and shouldn’t protrude beyond the head of the stud. The end of each plank making up a butt joint needs to be fastened to a stud, as well.
The siding grade can greatly affect how well it protects a home from the elements. It can also impact the cost of the installation. Many options are available, but it is important to consider each option carefully. The higher-grade materials will be more expensive, but they can be worth the extra investment if they offer more protection from storm damage and other elements.
The wood used for siding must be straight in long lengths, move consistently when exposed to atmospheric changes, dry quickly, and look good after installation. It must also be stable in the climate, consistent in color and grain, and repeat millwork with high precision. In addition to these requirements, the material must be moisture-free and durable.
Framing and trim carpentry work is typically done to paint or stain-grade tolerances of 1/8″ and less. Most exterior cladding and interior millwork should be finished to at least a 1/16″ or better finish grade.
Bevel siding is available in clear or knotty grades, both suitable for various applications. The clear grade provides a premium quality appearance for upscale designs, and the knotty grade offers an attractive rustic charm popular for cabins, log homes, and other rural structures. Both styles are available in continuous pieces or finger-joined to save installers time and money with fewer field joints.
The seven grade levels that apply to bevel siding include:
- The clear Vertical Grain (V.G) Heart.
- A Clear and B Clear grades allow slightly more characteristics than the Clear grades.
- A Select Knotty grade that allows for a percentage of Quality Knotty grade in lot mixes.
In addition, bevel siding can be purchased in a finger-joined form to eliminate telescoping issues and speed up construction.
Whether building your new home or replacing existing siding, properly installing exterior trim and cladding is crucial to a well-functioning and attractive house. To prevent costly problems down the road, check with your contractor to make sure the work meets your specifications.
The type of wood siding you choose will play a role in the final look of your home and its durability. You can use traditional wood clapboards, which are nailed to the sheathing and studs, or you can select from various engineered wood products that have been molded to replicate the look of traditional clapboards. These include veneered plywood, hardboard, and oriented strand board.
Another option for your home’s exterior is stucco, which has been around for centuries and is a good choice for houses with Spanish or Tudor-style architecture. Stucco is made of a combination of cement and silica and is applied in multiple layers over a metal or wood frame. It is durable, fireproof, and resistant to water.
A waterproof barrier is usually installed underneath the siding to keep water out of the house and protect sheathing and framing from moisture. This can be accomplished with a continuous sheet of water-resistive barrier or with flashing integrated into the siding system. Flashing is also used above door and window frames, inside corners, and at intersections of walls and roofing.
For vinyl siding, fasteners should be able to penetrate a minimum of 1 1/4 inches into the sheathing and wood framing. Aluminum or galvanized steel fasteners are recommended.
You may be required to install a water-resistant barrier under the siding if you’re installing it on an older house or if your home is in an area prone to flooding. Check with your local building inspector to learn more about code-compliant barriers.
Whether you have vinyl or fiber cement siding installed, having a pre-installation meeting with the contractor is a good idea to discuss project specifications and review the schedule. This will help avoid miscommunications that can cause delays and cost overruns. Before the contractor begins, he should trim any shrubs or trees near the house and put tarps down to catch debris for cleanup.